Your bed looks fine. Your wall behind it looks… suspiciously empty. And somehow the whole room feels unfinished, even if you own exactly seven throw pillows (no judgment, I tried that too).
A DIY headboard fixes that fast—without blowing your budget or requiring a garage full of tools. I built my first one with a stapler, a wobbly tape measure, and the kind of confidence that only beginners have. It turned out way better than it had any right to, and yours can too.
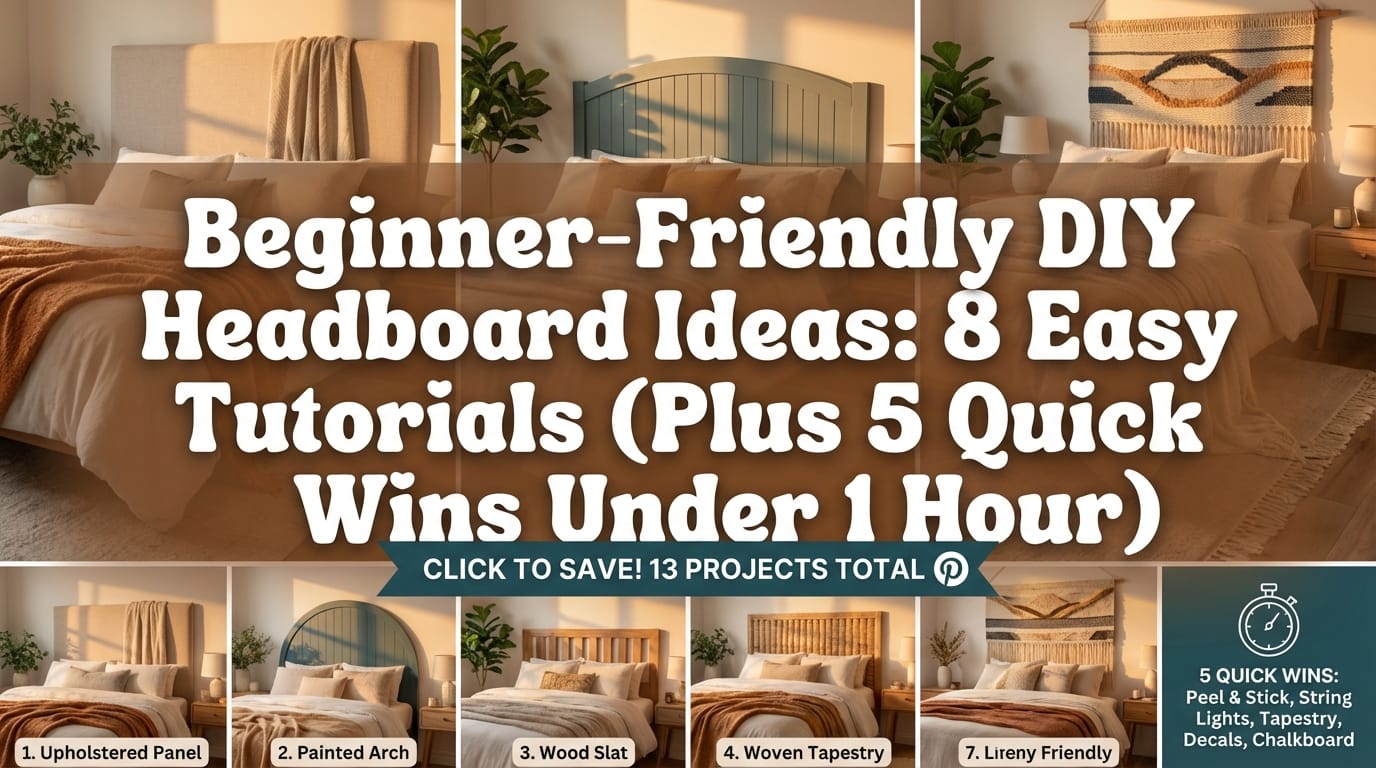
So let’s talk beginner-friendly DIY headboard ideas that you can finish in a day, often for $30–$100, with steps that won’t make you Google “what is a pocket hole” fifteen times.
Quick Wins: 5 Easiest DIY Headboards Under 1 Hour (No Power Tools Needed)
Want an instant “I totally have my life together” bedroom upgrade? Try one of these. You can start and finish before your laundry finishes “air fluff.”
1) No-sew fabric wrap headboard (the classic beginner move)
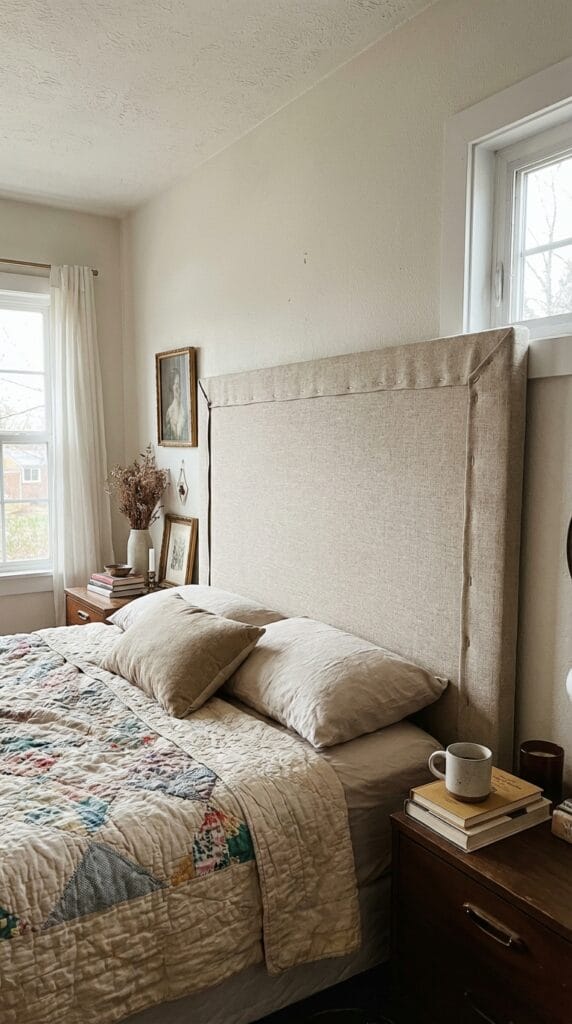
You grab plywood, padding, and fabric, then you wrap and staple. You lean it behind the bed or mount it later.
- Time: ~30–60 minutes
- Cost: often $20–$50 depending on fabric
- Why it works: fabric instantly adds warmth and texture
2) Tapestry/blanket hang (boho with zero commitment)
You hang a tapestry or a cool blanket behind the bed. You get color and softness with almost zero effort.
- Time: ~10 minutes
- Cost: $10–$40
- Renter-friendly: yes, with small nails or removable hooks
3) Oversized art or mirror “headboard”
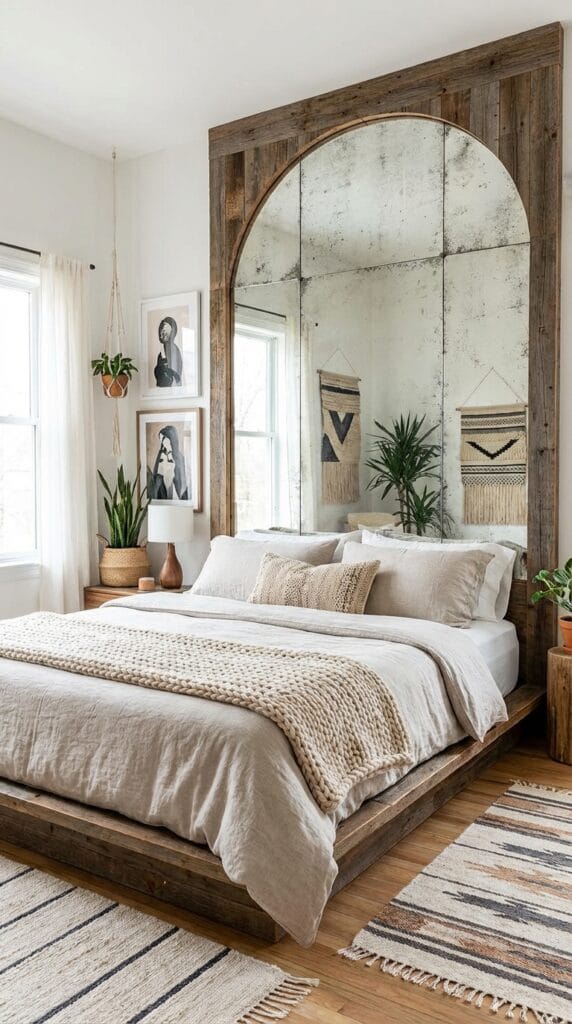
One big statement piece behind the bed creates the same visual anchor as a headboard.
- Time: ~15–30 minutes
- Cost: wildly flexible
- Bonus: mirrors make small rooms feel bigger (your room deserves that glow-up)
4) Leaning bookshelf headboard (storage lovers, unite)
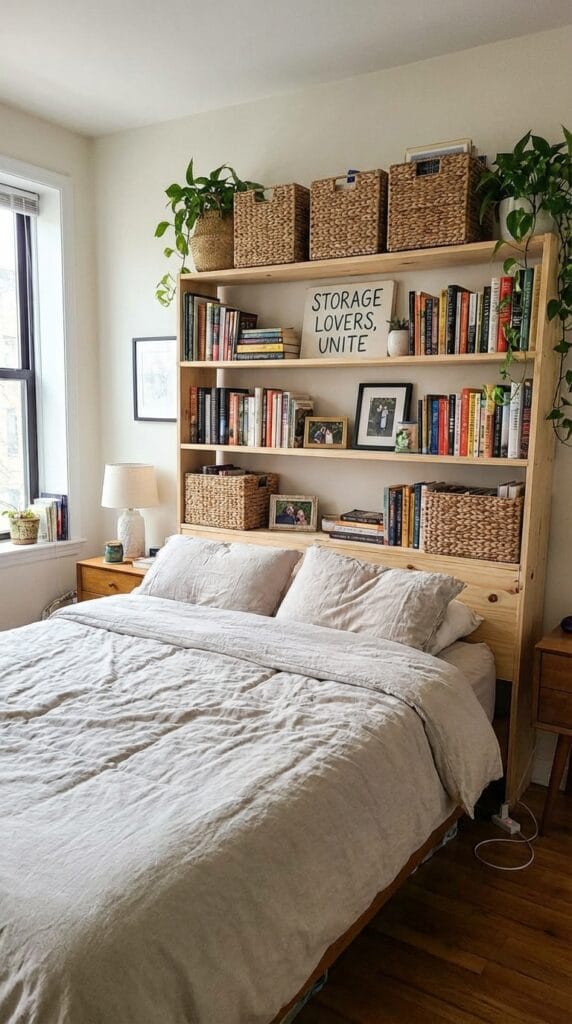
You push a narrow bookshelf behind the bed and secure it to the wall. You get a headboard plus storage without building anything.
- Time: ~30–60 minutes
- Cost: depends on the shelf, but budget options work great
5) Painted “headboard” rectangle (aka: paint, tape, done)

You tape a rectangle and paint it. You can even use chalk paint if you like doodling or changing your mind every two weeks.
- Time: ~45–60 minutes
- Cost: mostly the paint
- Looks: clean, modern, surprisingly intentional
Ever notice how quick wins make bigger projects feel less scary? You build momentum first, then you tackle the “real” headboard without panic-snacking.
Beginner Shopping List: Materials & Tools That Make DIY Headboards Easy
Most beginner DIY headboard tutorials rely on the same core setup: a base (plywood/MDF), padding (foam/batting), and a cover (fabric). You also need a few basic tools—nothing fancy.
Beginner-friendly shopping list (scales from twin to king)
| Category | What to Buy | Why You’ll Like It |
|---|---|---|
| Base | Plywood or MDF (ask the store to cut it) | You skip complicated cuts and save time |
| Padding | 1–2″ foam (double-layer feels extra plush), batting | You get that comfy, upholstered look without sewing |
| Cover | Upholstery fabric, canvas, drop cloth, velvet | You can pull it tight and staple from the back |
| Tools | Staple gun, scissors, utility knife, measuring tape | You handle 80% of projects with these |
| Optional tools | Drill/driver, level, stud finder | You mount safely and keep things straight |
FYI: A queen headboard usually lands around 60–62″ wide and 50–60″ tall. You can size up or down easily once you know your bed width.
Cost, Time, and Style: What Beginners Actually Build
Most beginners want three things: it looks good, it costs less than store-bought, and it doesn’t ruin their weekend. Fair.
Here’s the real-world vibe from popular tutorials (especially recent video tutorials that show every step clearly):
| Headboard Style | Best For | Typical Cost | Time | Difficulty |
|---|---|---|---|---|
| Simple upholstered fabric | Soft, cozy, modern | $20–$30 | 2–4 hrs | Very easy |
| Rustic wood chevron | Farmhouse/rustic statement | $50–$100 | 4–6 hrs | Easy-medium |
| Tufted upholstered | Luxe hotel look | $40–$100 | 4–6 hrs | Medium |
| Padded velvet (fast method) | Bold texture, quick build | $30–$80 | ~1 hr (sometimes less) | Easy |
| Repurposed door | Vintage charm, cheapest build | $0–$30 | 1–2 hrs | Very easy |
So… which one should you pick? Ask yourself one question: Do you want “soft and cozy” or “wood and wow”?
Step-by-Step: 8 Beginner-Friendly DIY Headboard Ideas (That Actually Work)
I’ll walk you through the most beginner-proof builds. You can finish most of these in a day, and you can absolutely do them in a small space.
1) Budget upholstered headboard (queen-size for around $30)
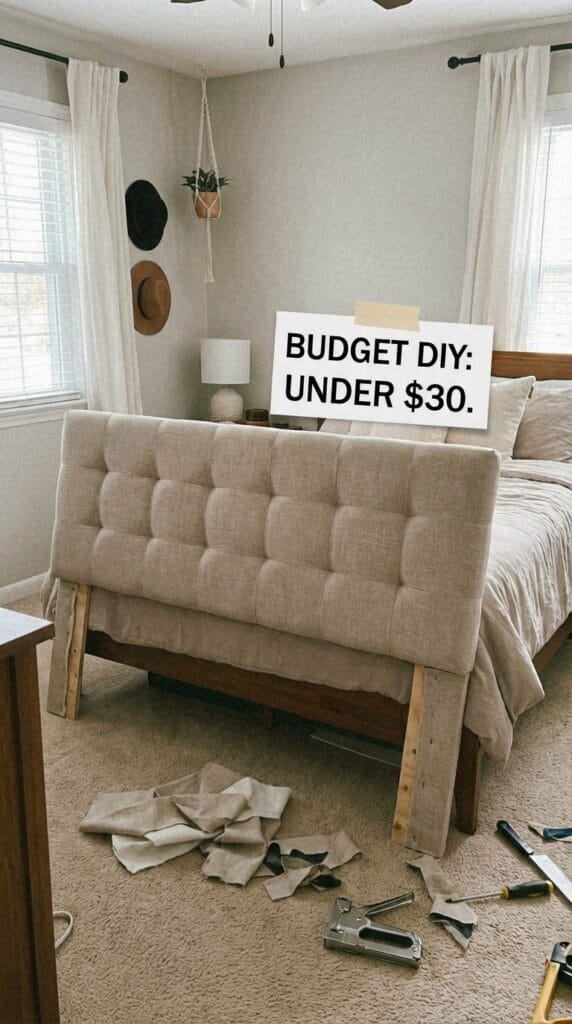
This one feels like the gateway project. You can mess it up a little and still win.
You’ll use:
- Plywood cut to about 62″ wide for a queen
- Foam (1–2″, and you can double it)
- Batting (optional but helpful)
- Fabric
- Staple gun
Steps:
- Measure bed width and pick your height.
- Lay foam on plywood and cut it to size.
- Staple or lightly attach foam, then add batting.
- Center fabric on top and staple from the middle outward.
- Alternate sides as you pull the fabric tight to avoid wrinkles.
- Fold corners neatly and staple them down.
My take: This method gives you the highest “wow” per dollar. IMO, it also forgives mistakes better than wood builds.
2) No-saw wood slat headboard (hardware store cuts save the day)
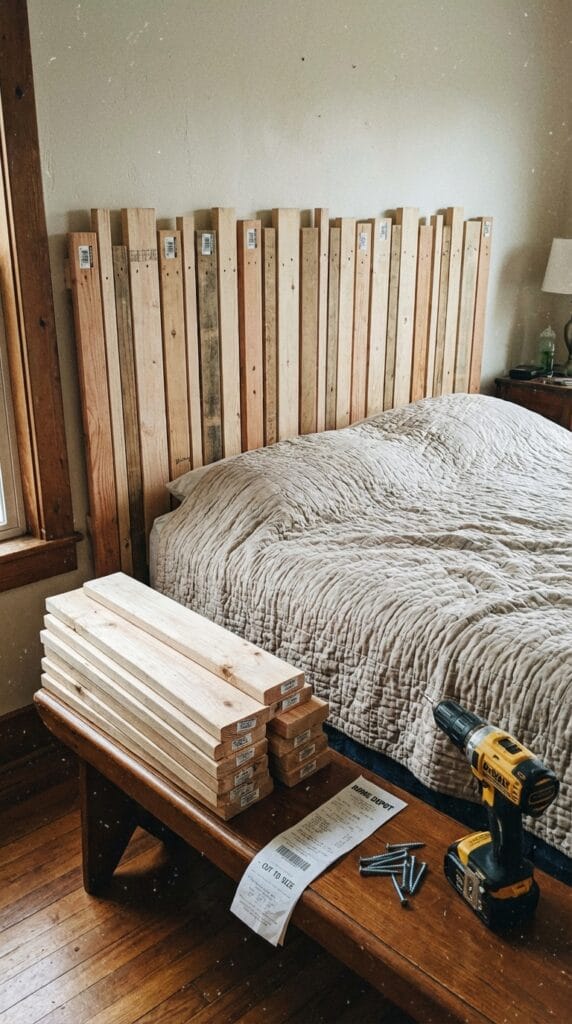
You can build a clean, modern slat look without owning a saw. You just ask the store to cut boards to length.
Steps:
- Choose 1x boards for vertical slats.
- Screw slats to a couple of horizontal support boards.
- Sand the edges lightly.
- Stain or paint, then seal.
Want a modern look without fabric fuzz and staple-gun rage? This one hits.
3) Lightweight “picture-frame” upholstered headboard (great for wall mounting)
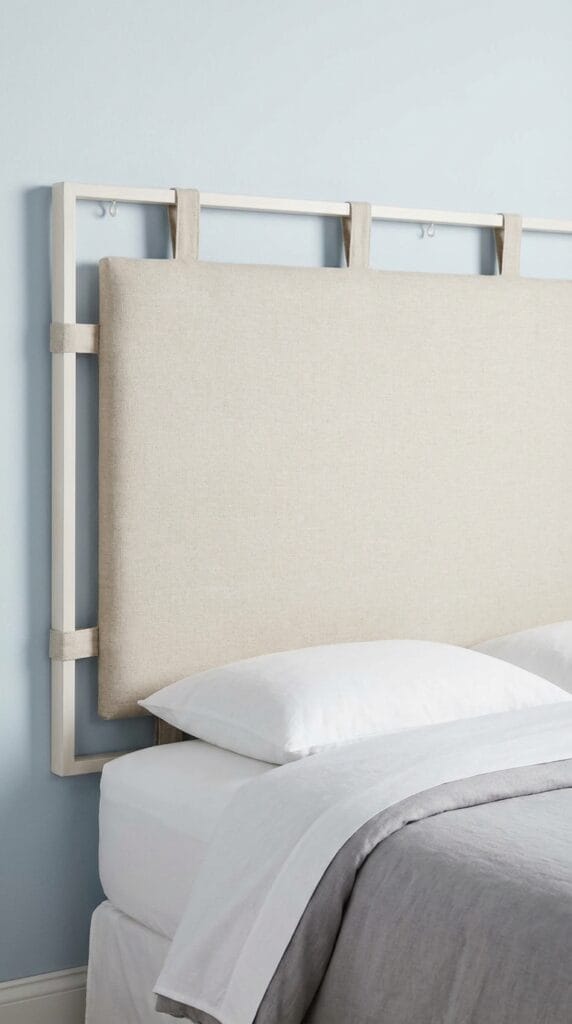
You build a simple rectangular frame, wrap it like a present, and hang it like art.
Steps:
- Build a frame with 1x2s.
- Add a thin plywood face (optional).
- Wrap with foam/batting/fabric.
- Mount with screws into studs or a French cleat.
This style looks sleek and weighs less than full plywood builds.
4) Classic frame-and-panel look (clean lines, grown-up energy)
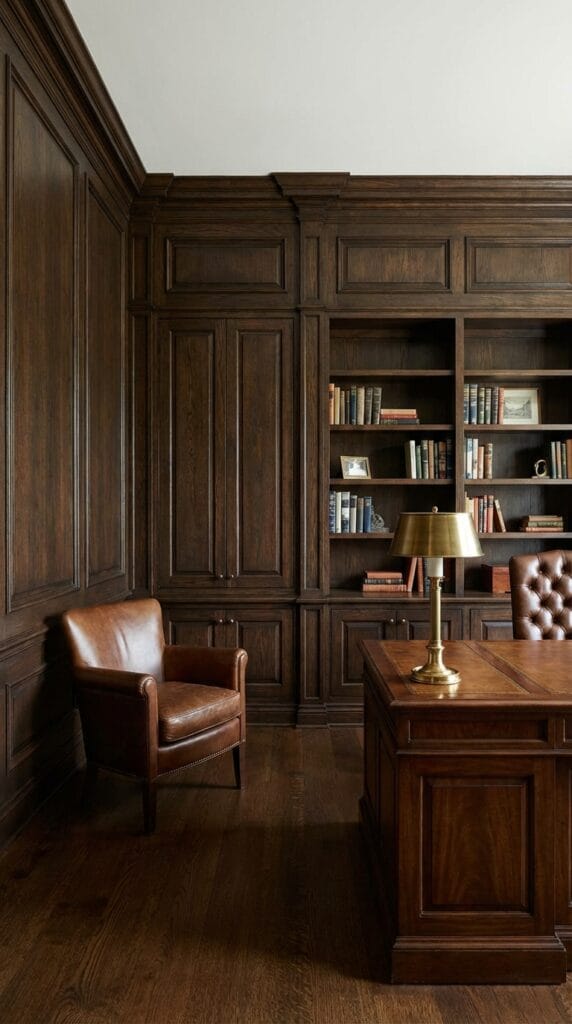
You create a structured headboard look with trim pieces around a panel.
Steps:
- Cut a panel (plywood/MDF).
- Add trim pieces to create “frames.”
- Paint everything one color for that high-end look.
- Mount to the wall or attach to legs.
If your bedroom leans modern or traditional, this gives you “custom millwork” vibes without custom millwork prices.
5) Rustic wooden chevron headboard (statement piece, still beginner-friendly)
This one looks advanced, but you can follow a cut list and assemble it step-by-step.
You’ll use:
- Lumber for a frame
- Pocket holes (optional but helpful)
- Wood glue + brad nails for slats
Steps:
- Build a rectangular frame.
- Add supports across the back.
- Cut slats at 45° to form the chevron pattern.
- Glue and nail slats into place.
- Add trim, fill nail holes, sand, and finish.
Yes, it takes longer. No, you don’t need to suffer. Ask the store for cuts and keep it simple.
6) Tufted upholstered headboard (luxe look, one tricky step)
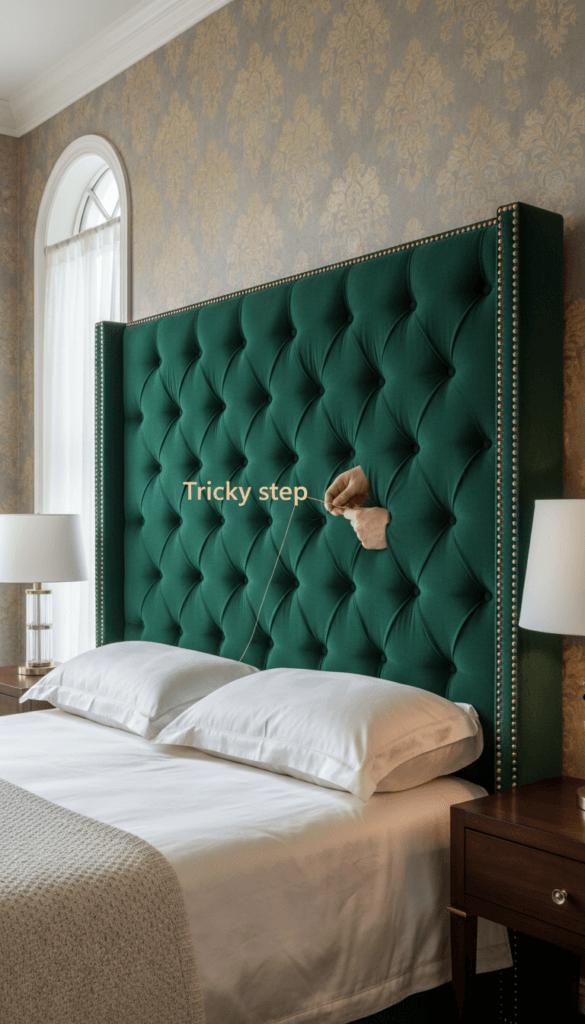
Tufting looks fancy because it is fancy… but you can still do it as a beginner if you stay patient.
You’ll use:
- Plywood
- Foam + batting
- Buttons + upholstery needle/thread
- Drill for button holes
Steps:
- Mark a grid and drill tuft holes (example layouts often use two rows near the top).
- Add foam and batting.
- Wrap fabric and staple from the center outward.
- Thread buttons through holes, pull tight, and secure from the back.
- Add legs if you want it to sit perfectly behind the frame.
Honest warning: Tufting tests your patience. You’ll love it when you finish, but you’ll probably talk to yourself halfway through. Totally normal.
7) Fast padded velvet headboard (the “I want drama in 10 minutes” vibe)
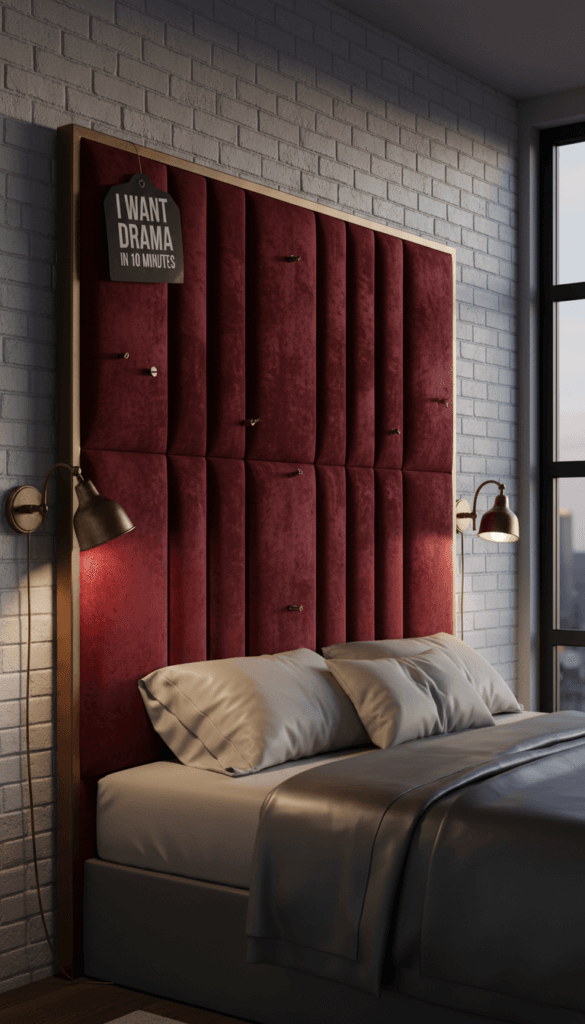
Some newer tutorials show a super-fast method: staple from the middle, pleat corners, and clean up edges.
Steps:
- Cut your base.
- Add padding.
- Staple velvet middle-out with temporary staples.
- Pleat corners neatly and secure.
- Finish edges for a clean look.
Velvet hides a lot of tiny imperfections, which feels like a personal gift from the DIY universe 🙂
8) Repurposed door headboard (cheap, charming, and shockingly easy)

You take an old door, trim it to height, and add a top cap or trim. You get instant character.
Steps:
- Choose a solid door (flat or paneled both work).
- Cut to height if needed.
- Add a 1×4 topper and trim.
- Paint or stain.
- Secure it behind the bed or anchor it to the wall.
If you love the “found it and fixed it” look, this project delivers fast.
Real Beginner Results: What People Say After They Build One
I’ve seen the same theme over and over in comments and feedback: beginners finish these projects faster than they expect.
- “I finished an upholstered queen headboard in about three hours and spent around $25—so worth it.”
- “I followed a rustic wood cut list and got a huge bedroom upgrade without special skills.”
- “I fought with tufted buttons for a bit, then I nailed it and felt unstoppable.”
- “I tried the fast padded velvet method on a single bed and planned a bigger one right after.”
- “I used an old door, spent basically nothing, and got instant charm.”
Do you need perfection to impress people? Nope. You just need a headboard that looks intentional.
Installation: How to Attach Your DIY Headboard (Without It Wobbling)
You have three beginner-friendly options. Pick the one that matches your comfort level and your wall situation.
Option A: Lean it behind the bed
You slide the headboard behind the bed and push the bed frame against it.
- Fastest option
- Works great for padded plywood builds
Option B: Wall-mount it (cleanest look)
You screw into studs and hang it like a heavy frame.
- Use a stud finder and a level
- Consider a French cleat for stability
Option C: Attach it to the bed frame (most secure)
You add legs and bolt the headboard to the frame.
- Works best for wood builds and tufted headboards
- Keeps everything aligned
Please don’t “just hope it stays.” Your headboard deserves better than vibes.
Common Beginner Mistakes (And How You Dodge Them)
You can avoid 90% of frustration with a few simple habits.
- You skip measuring twice. Measure bed width and plan for 2–4″ extra if you like overhang.
- You staple fabric without a plan. Start top-center, then work outward and alternate sides.
- You pull fabric too hard. Pull snug, not aggressive, unless you want seams to show.
- You ignore store cutting services. Let the hardware store cut plywood and boards.
- You mount without checking studs. Anchor into studs whenever you can.
Ever watched a project go sideways because someone rushed the first 10 minutes? Don’t play that game.
FAQs: Beginner DIY Headboards
Can I build a DIY headboard without power tools?
Yes. You can build upholstered, tapestry, art, or paint-based headboards with a staple gun and basic hand tools.
How much does a beginner DIY headboard cost?
Most beginners spend $20–$30 for a basic upholstered build and $50–$100 for wood-heavy designs.
What size should I make a queen headboard?
Aim for 60–62″ wide. Many people choose 50–60″ tall, but you can go taller for a statement look.
How do I stop wrinkles in fabric?
Staple middle-out, use temporary staples first, and alternate sides as you pull the fabric tight.
Wrap-Up: Pick a Style, Grab a Stapler, and Actually Do It
You can build a beginner-friendly DIY headboard with plywood, foam, fabric, and a staple gun—and you can finish it in a day without spending a fortune. If you want the easiest win, start with a simple upholstered headboard or a repurposed door. If you want a bigger statement, try the rustic chevron wood headboard and enjoy the glow of “I made that.”
So what do you want—soft and cozy, or wood and wow? Either way, your bedroom wall stops looking neglected, and you get bragging rights for free.